Download PS2 BIOS for AetherSX2
AetherSX2 ships without a BIOS, so the emulator cannot boot a single game until you import one yourself. Pick the file that matches your region below, then follow the twelve-step import guide.
View download linksPS2 BIOS files by region
Every file is a 4 MB .bin dump. Download the one for your region —
using the wrong standard is the most common cause of a black screen.
NTSC or PAL — which one do you need?
The two broadcast standards differ in refresh rate and vertical resolution. Match the BIOS to the region your games came from, not to where you live now.
NTSC
- Used in the USA, Japan, South Korea and Taiwan
- 60 Hz, 30 fps
- 720 × 480 (480i)
- Smoother motion thanks to the higher frame rate
PAL
- Used in Europe, Australia, Indonesia and Africa
- 50 Hz, 25 fps
- 720 × 576 (576i)
- More vertical detail, but a slower frame rate
Works with other emulators too
These are the same dumps the desktop and ARM emulators expect, so one download covers every PS2 emulator you are likely to run.
The long-running desktop PS2 emulator for x86, and the project AetherSX2 itself was derived from.
A newer ARM64 port of the PCSX2 source for Android and iOS, now that AetherSX2 itself is no longer maintained.
How to import the BIOS into AetherSX2
Twelve steps from a fresh install to a game running. The wizard only appears the first time you open the app.
Download and start setup
Download and install AetherSX2, then open the app and tap Next on the welcome screen.
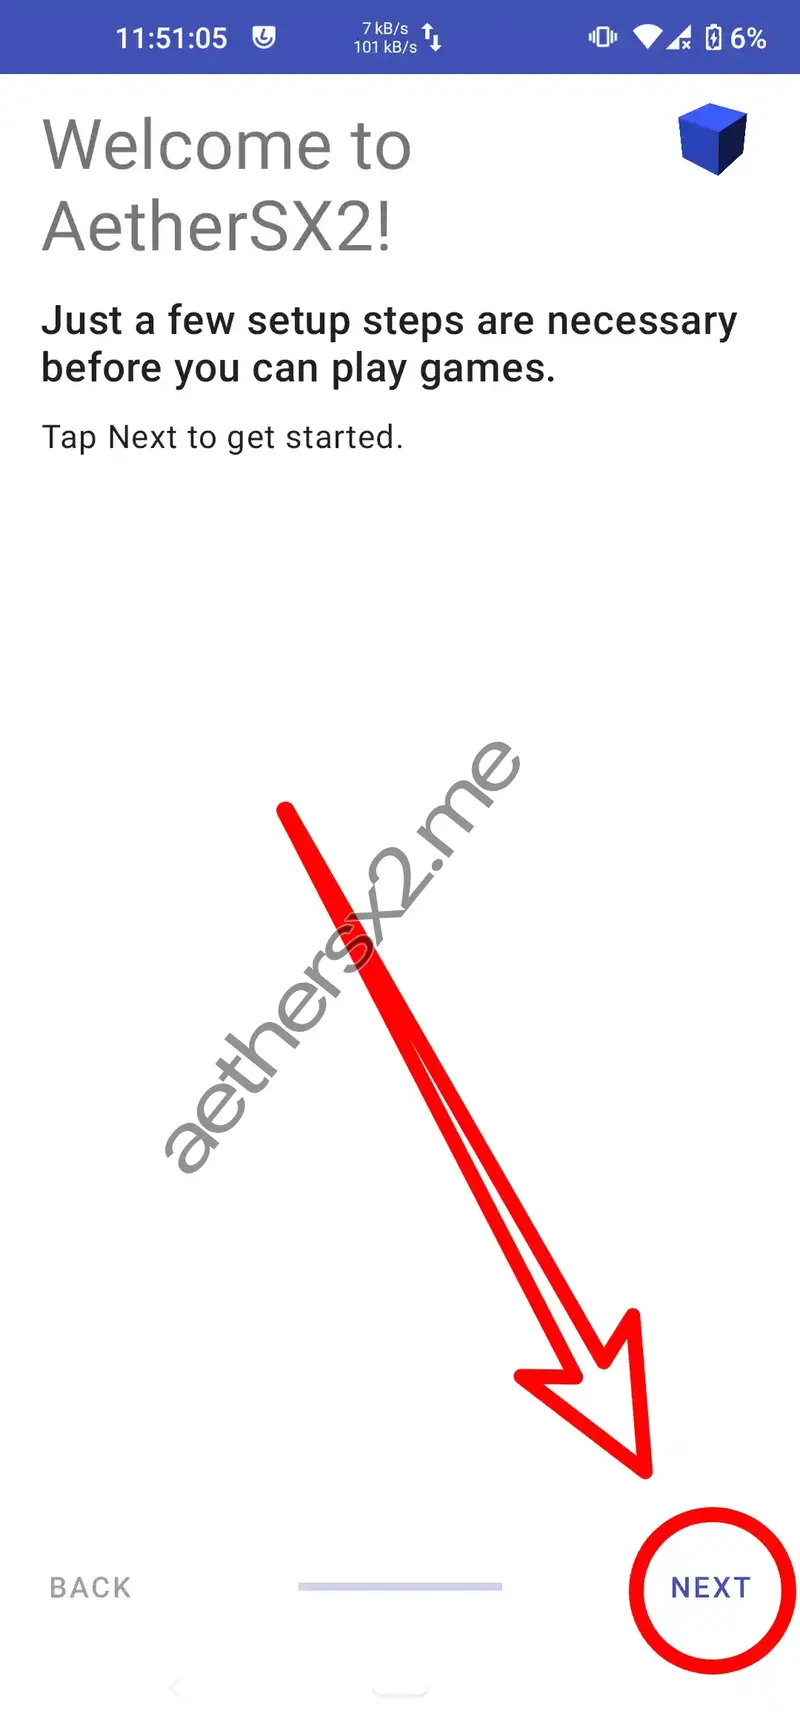
Review the FAQ
Scroll through the built-in FAQ page and tap Next when you are done reading it.
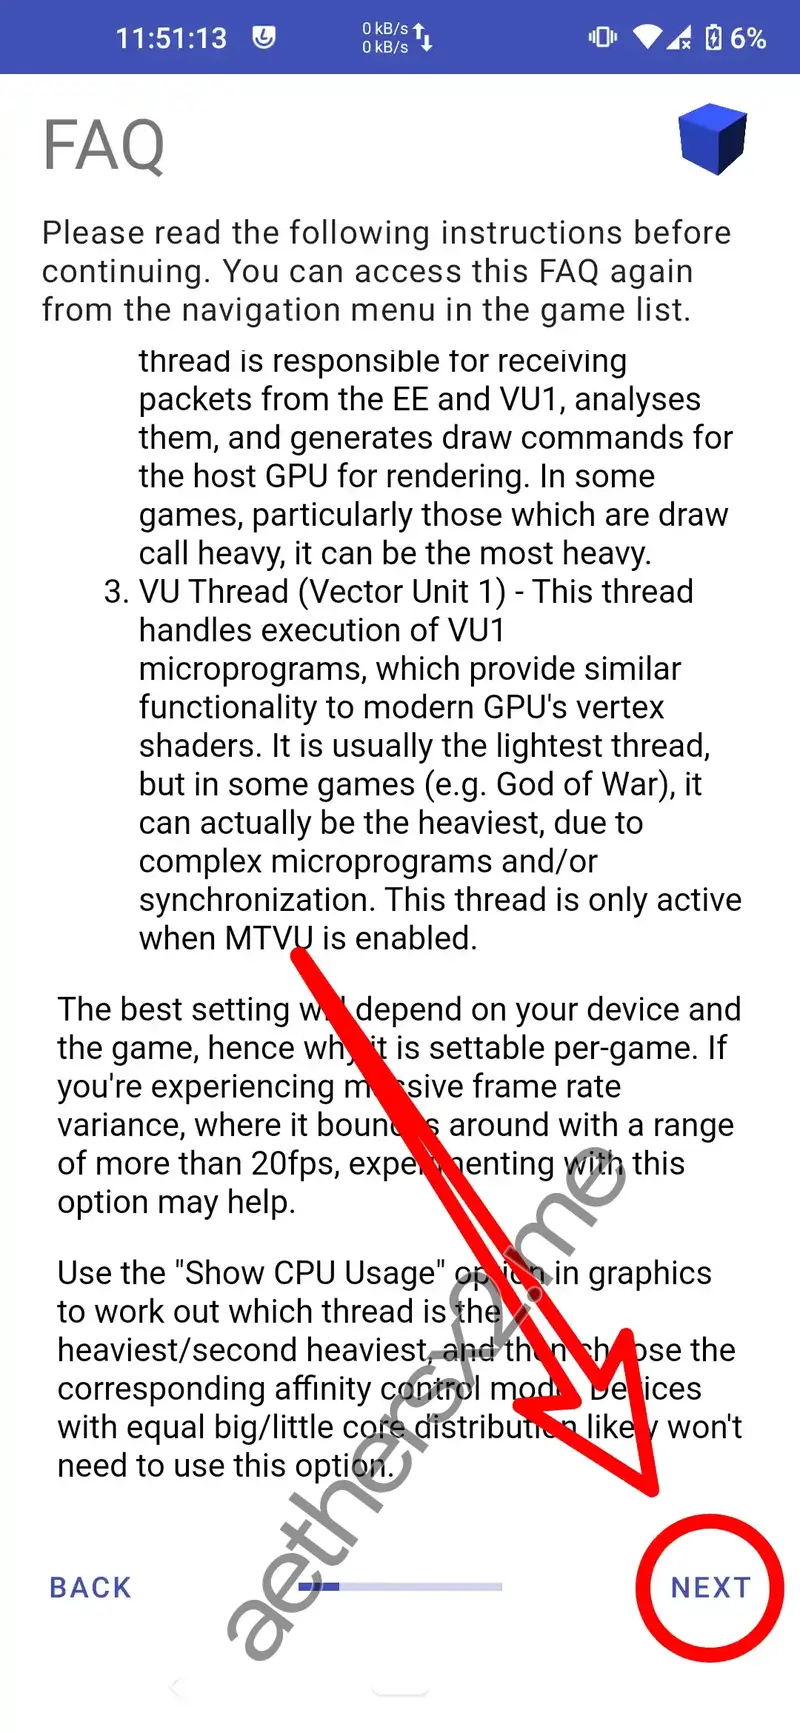
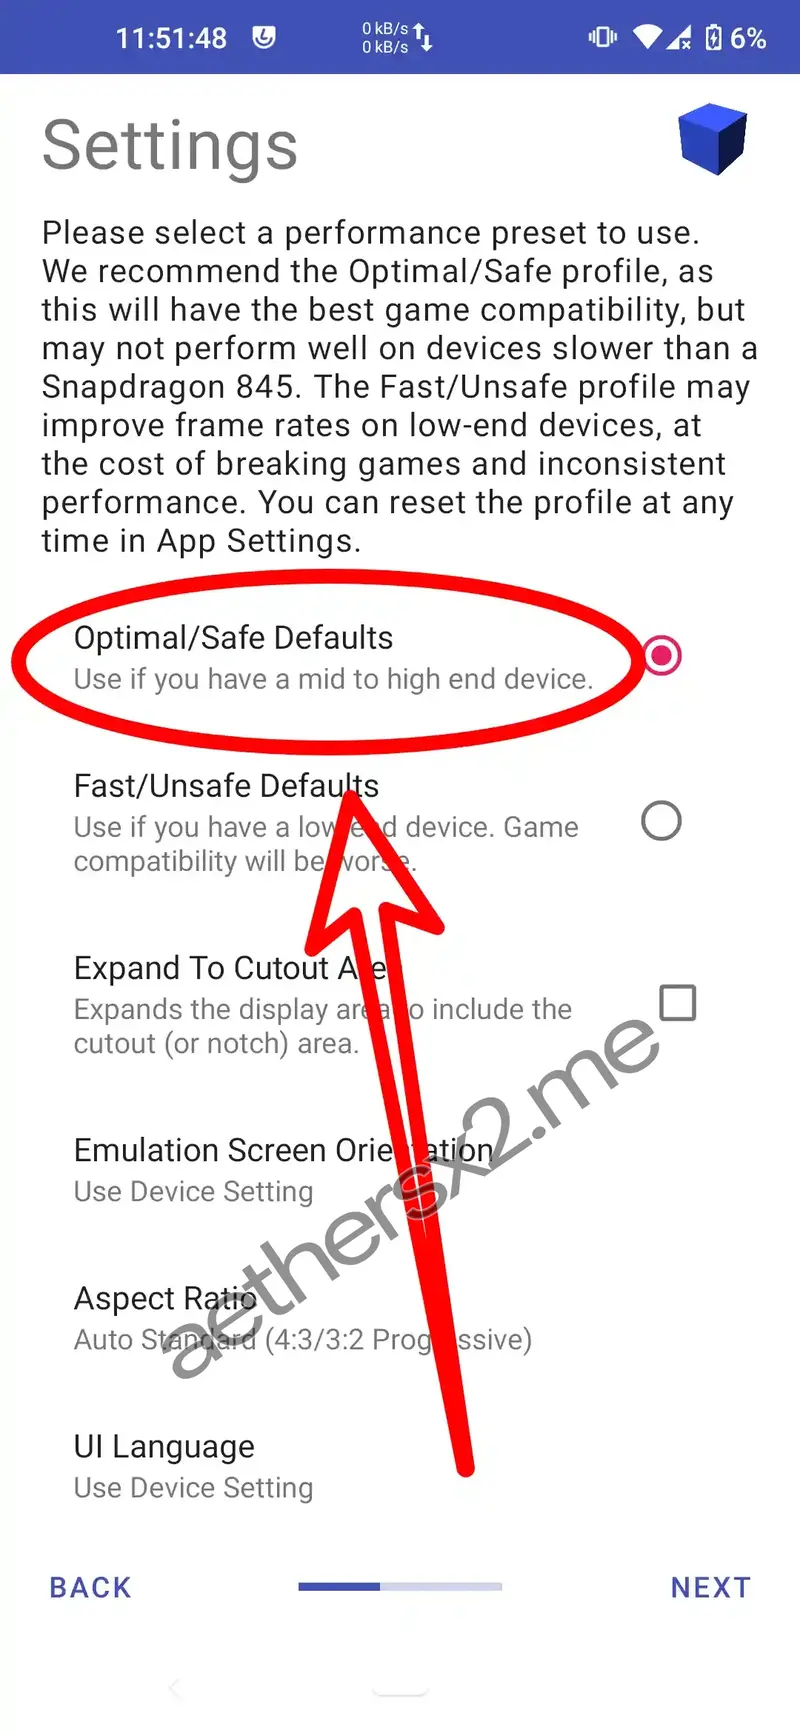
Choose performance settings
Pick Optimal/Safe on a high-end device, or Fast/Unsafe if your phone is entry-level.
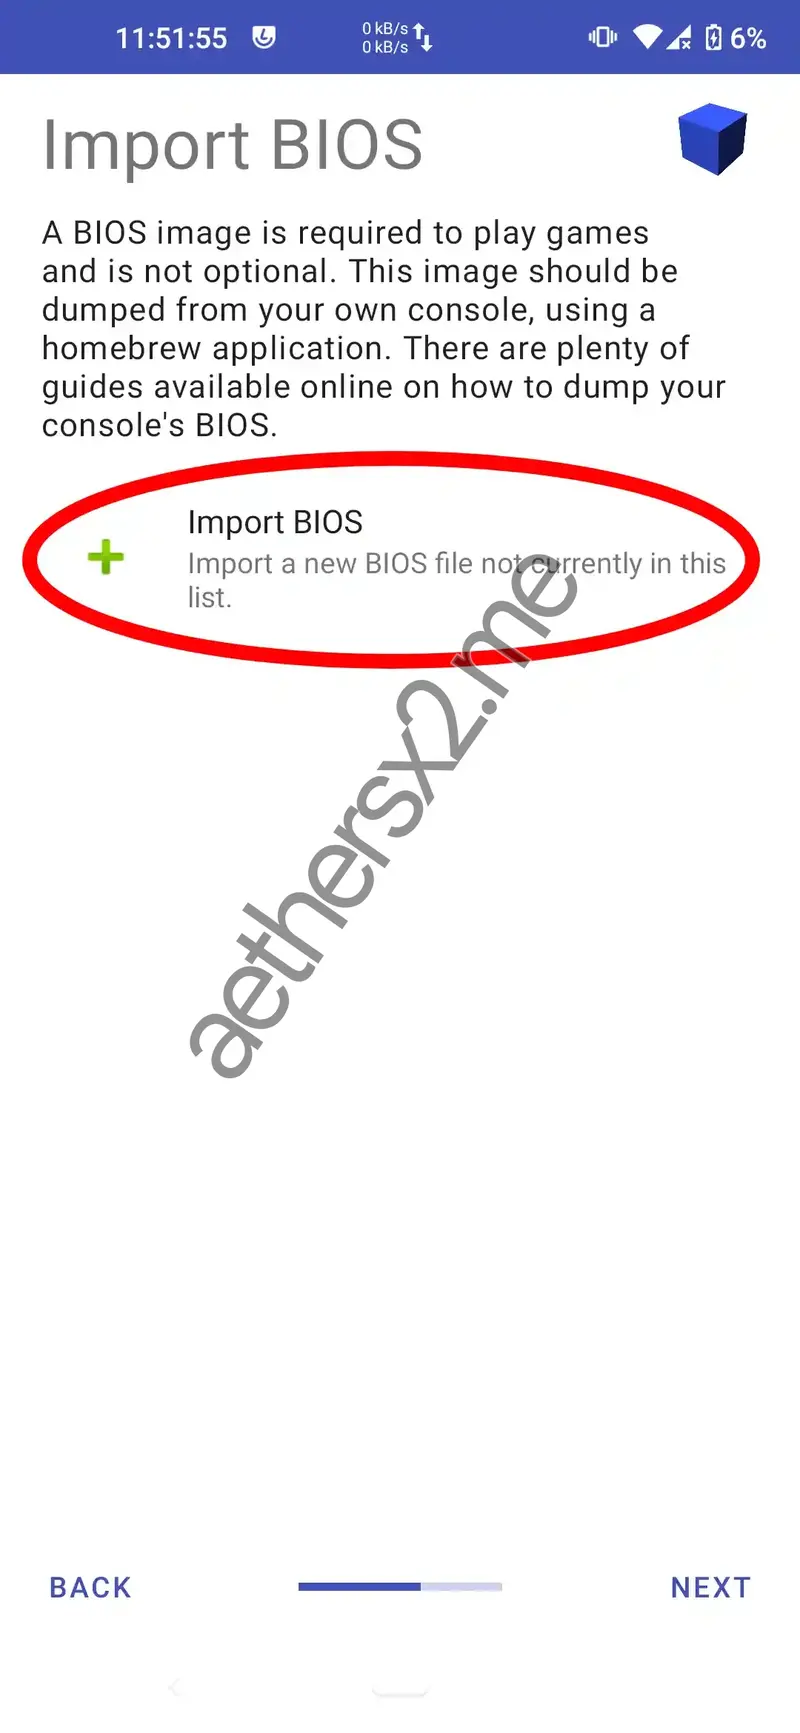
Import the PS2 BIOS
Tap Import BIOS to load the BIOS file you downloaded above.
Select the BIOS file
Browse to the folder where you saved the .bin file and select it.
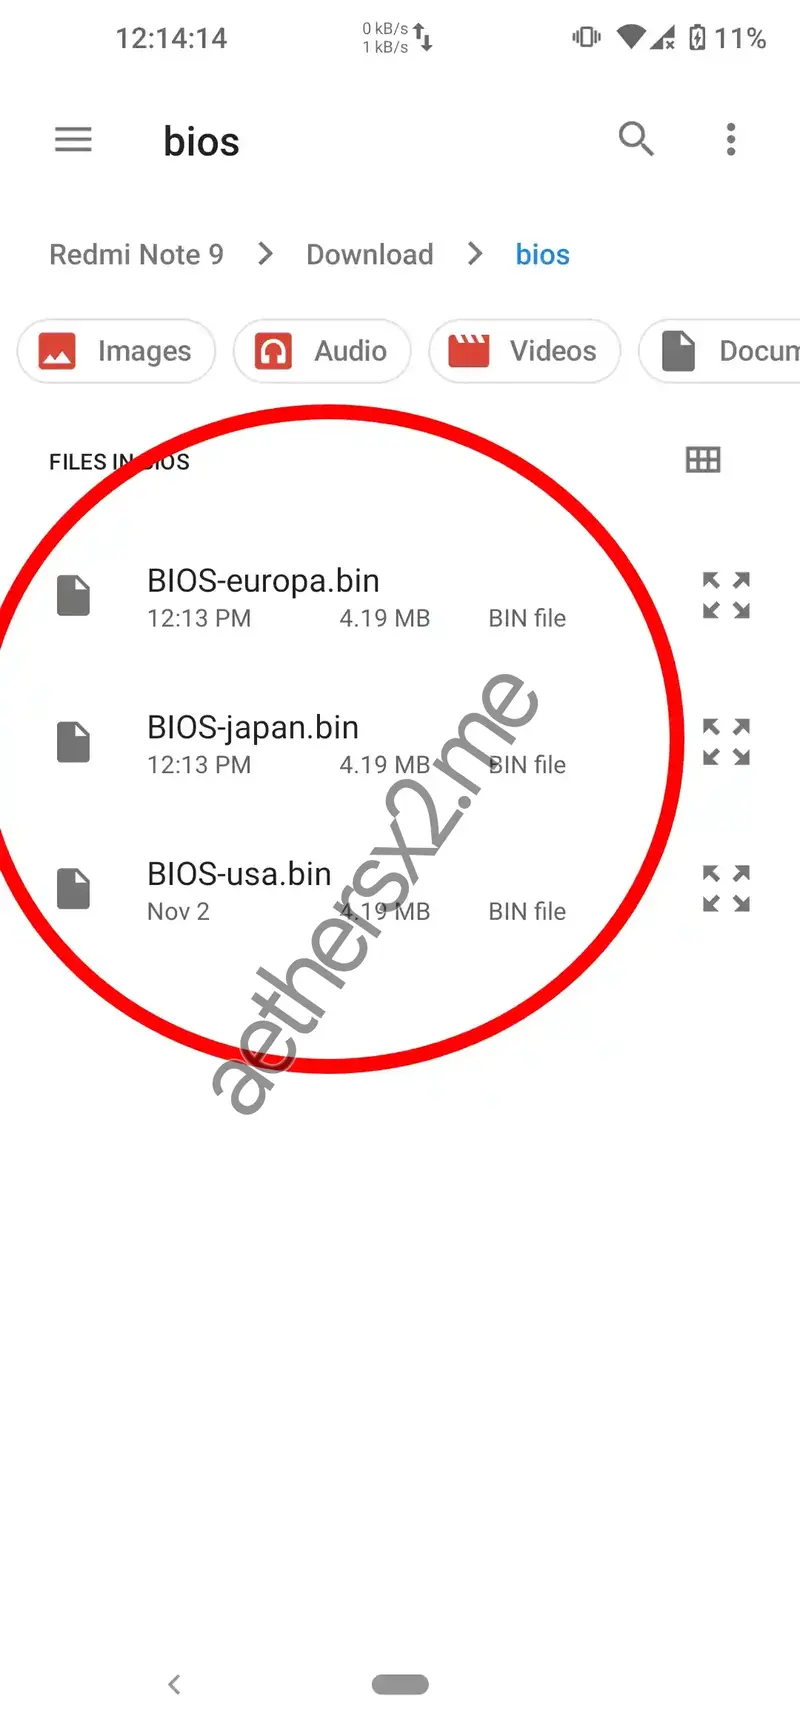
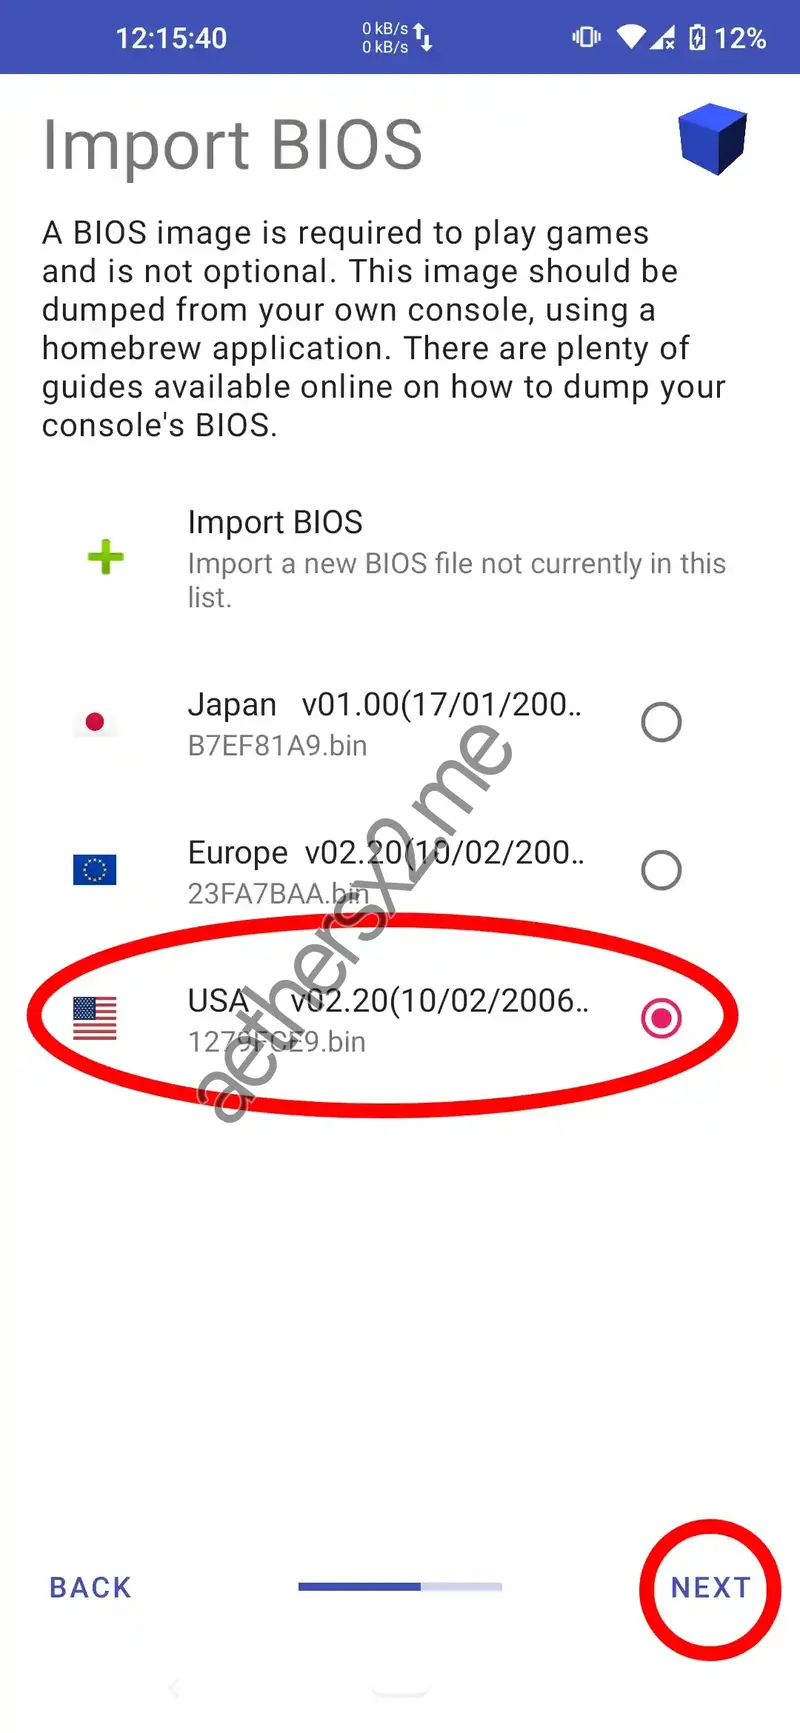
Confirm the active BIOS
Select the detected BIOS, check that it is marked active, then press Next.
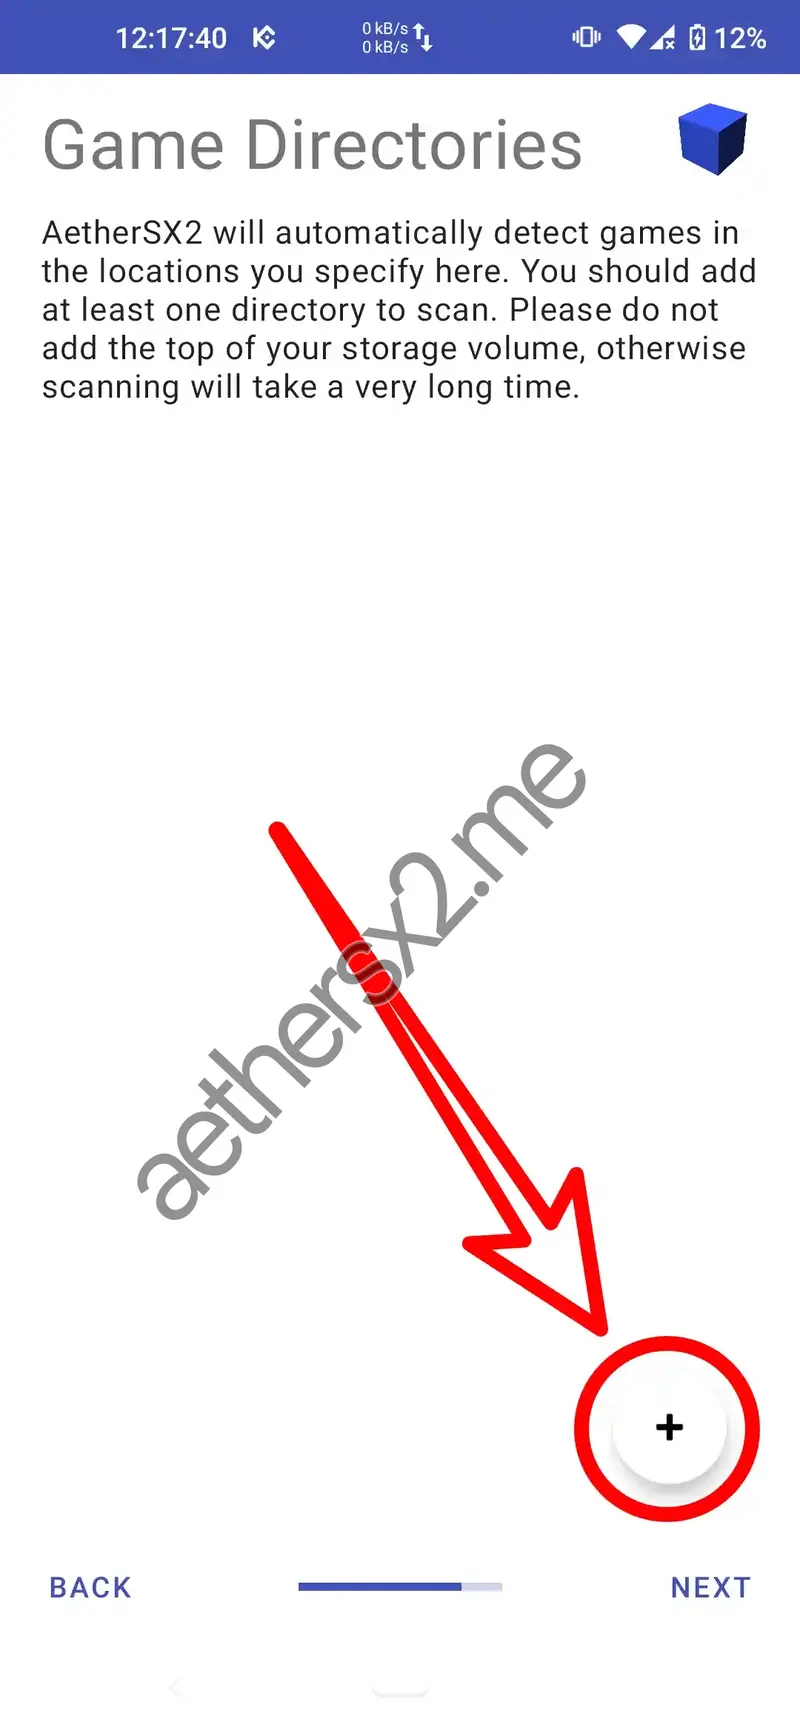
Add a game directory
Press the + button to add the folders where your PS2 ISO files are stored.
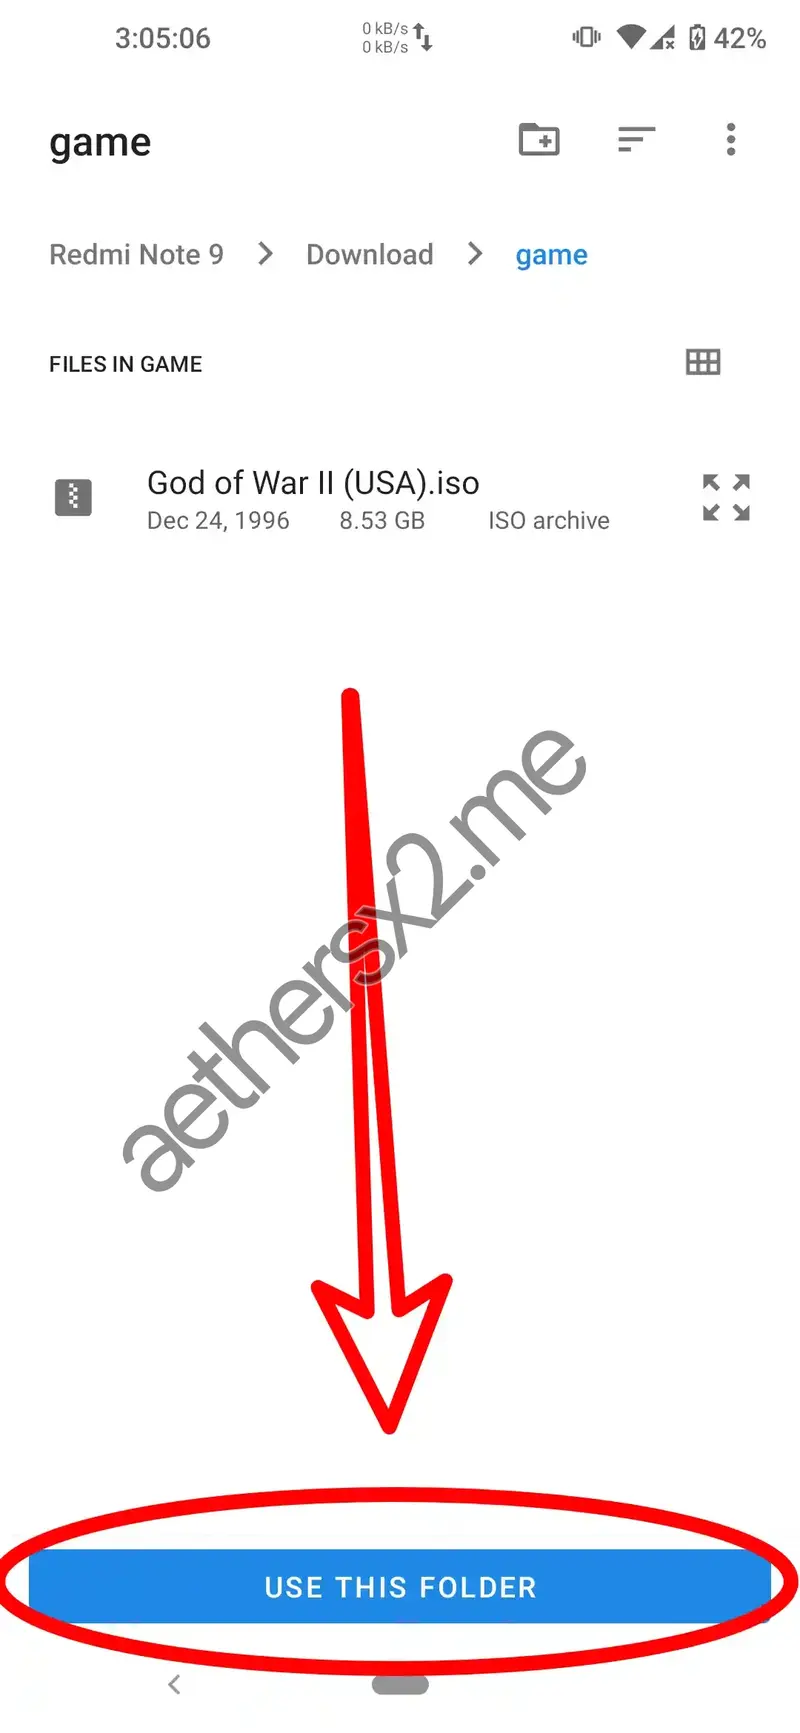
Select the game folder
Find your PS2 game folder and confirm with USE THIS FOLDER.
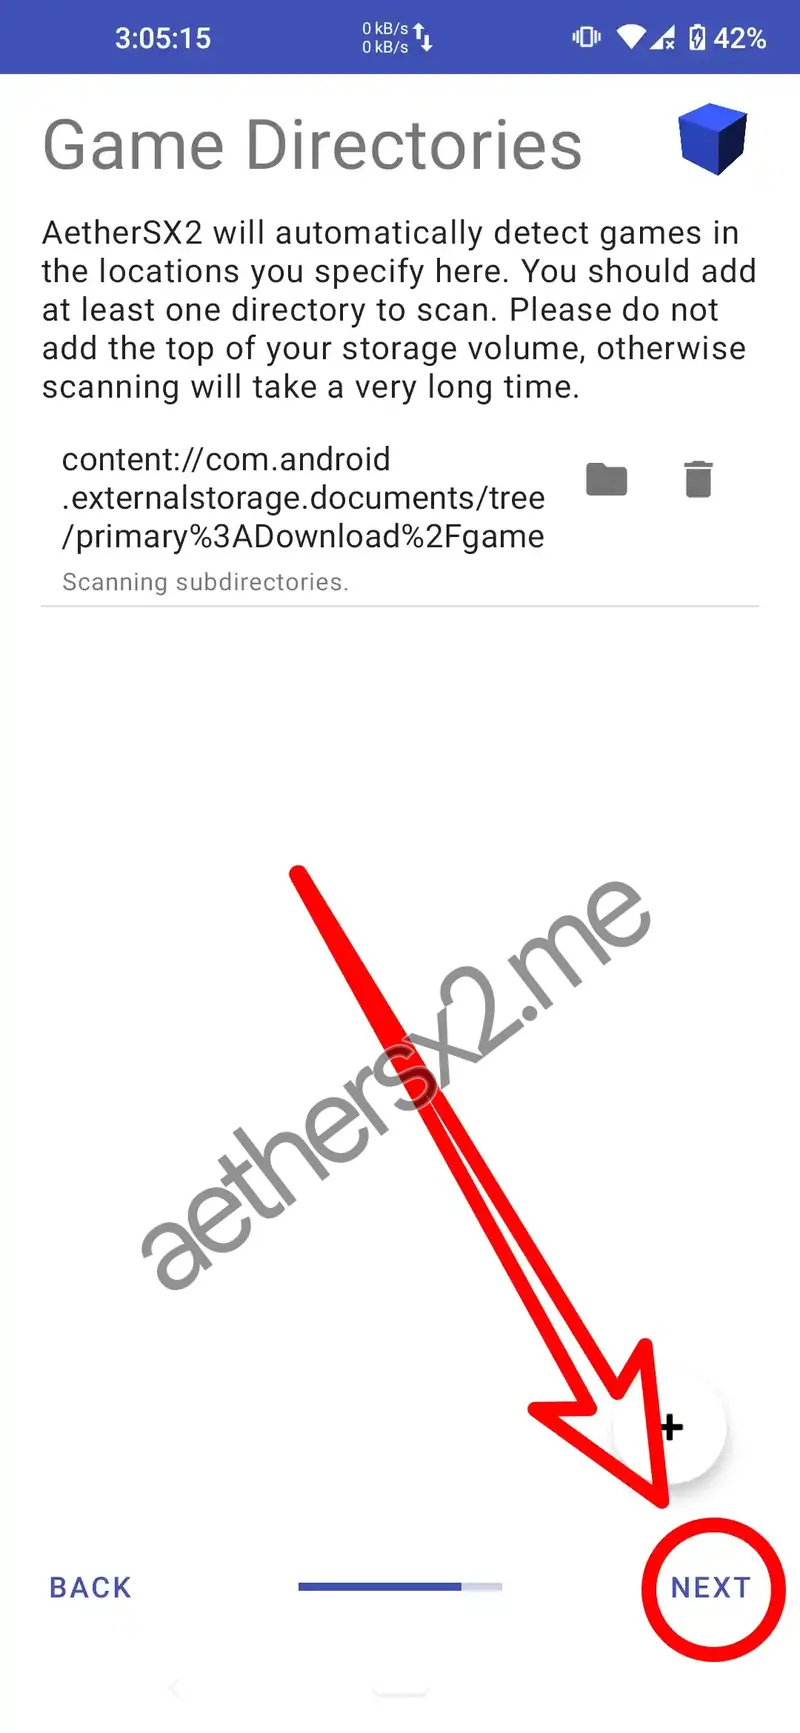
Continue setup
Once the folder is detected and listed, press Next.
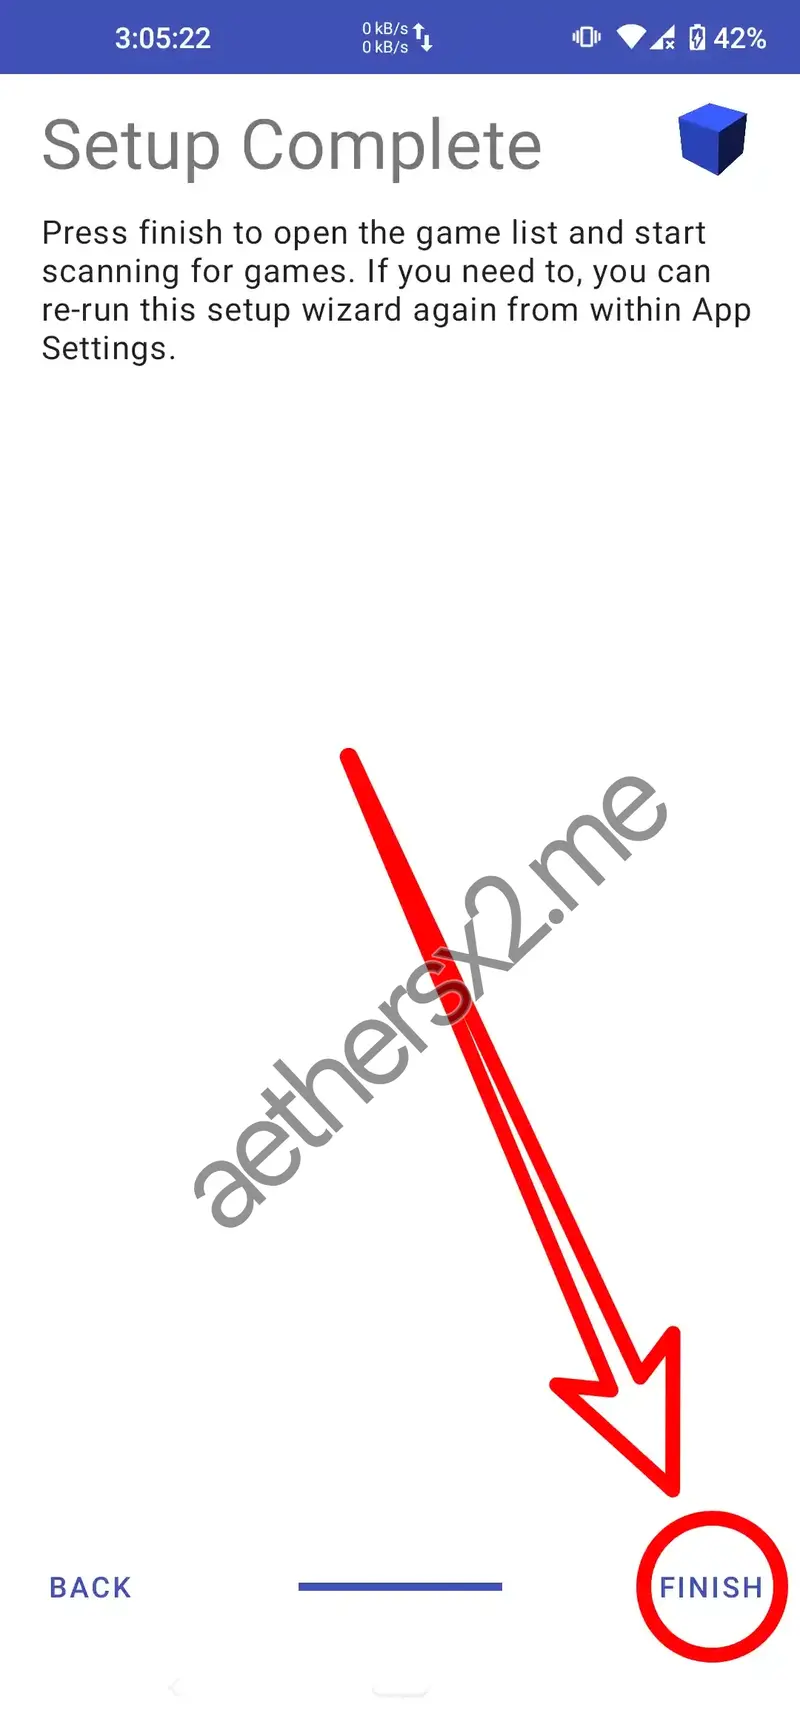
Finish setup
Tap Finish to complete the first-run wizard.
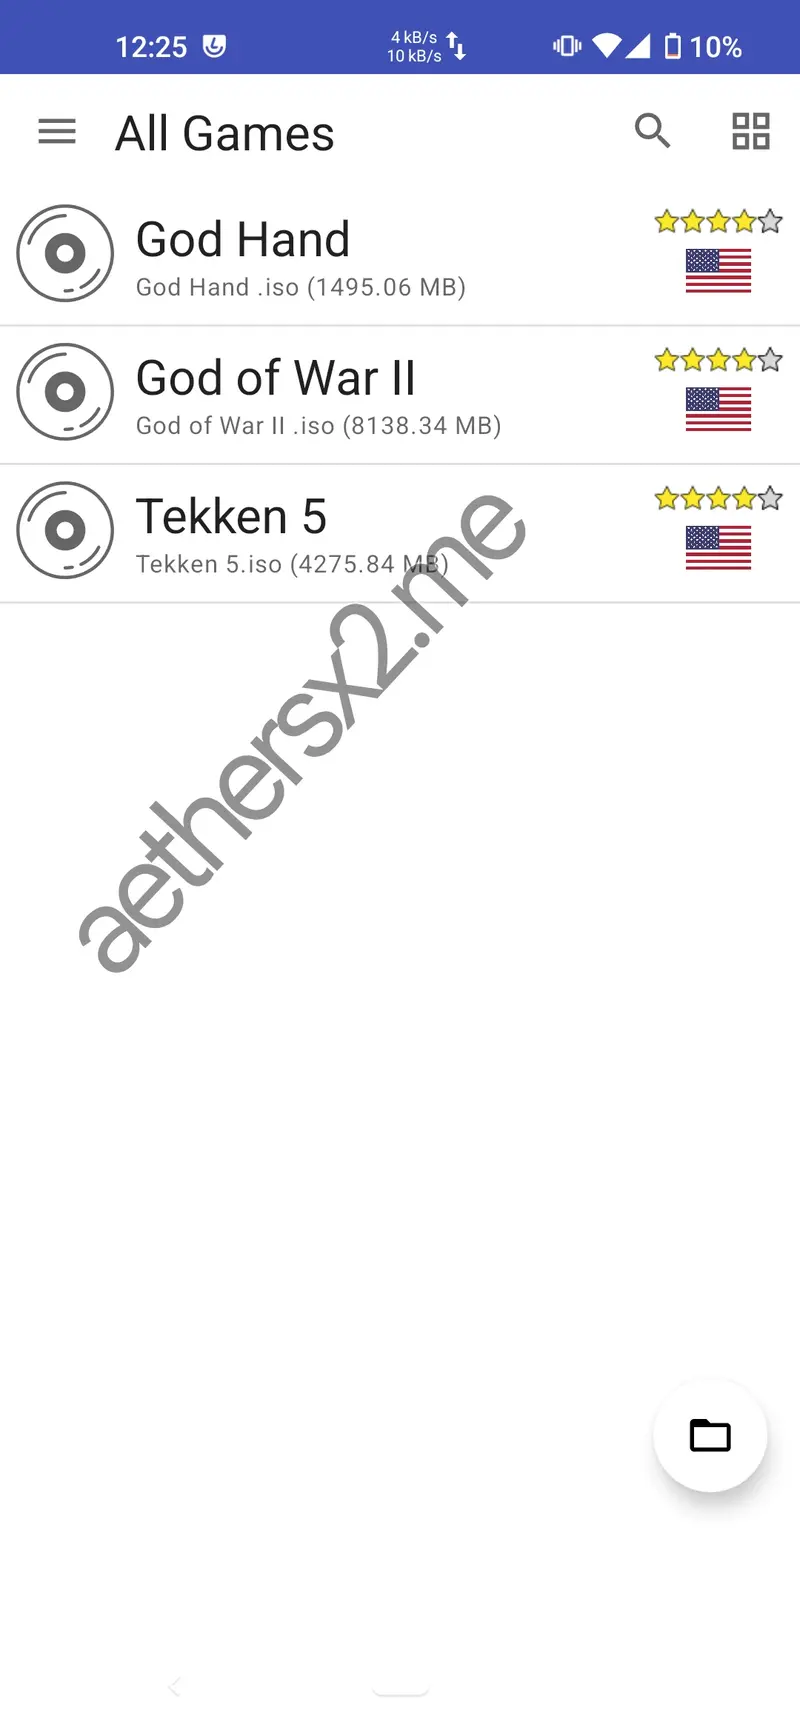
View your game list
Setup is complete. Every game AetherSX2 found in your folders is now listed.
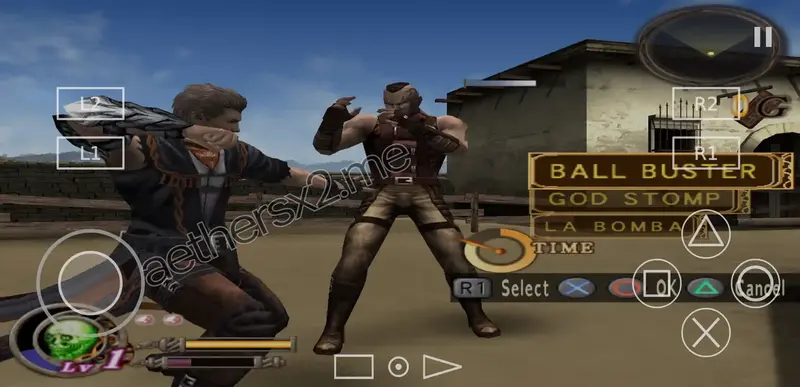
Run a game
Tap a title to launch it. Here is God Hand running with the BIOS installed.
Frequently asked questions
The two questions we get most about the AetherSX2 BIOS.
You have the BIOS — now get the rest
The emulator and a game ISO are the only two pieces still missing.